
Hello, lovely readers! It’s your friendly neighborhood blogger, Sarah Thompson, back with another exciting topic. Today, we’re diving headfirst into the mesmerizing world of digital blending techniques. If you’re an aspiring artist or even a seasoned pro looking to spice up your creative journey, this article is tailor-made for you. We’re about to uncover the secrets of blending like a digital Picasso, but with a touch of humor and a sprinkle of unique insights. So, grab your stylus and let’s embark on this artistic adventure.
Digital Blending
Before we jump into the techniques, let’s clarify what digital blending is all about. In the digital art realm, blending is the process of seamlessly merging colors, shades, and textures in your artwork. It’s the wizardry that gives depth and realism to your creations, making them look like they’re ready to leap off the screen. Just think of it as your art’s secret sauce.
So, why is blending so important? Well, it’s the gateway to creating soft gradients, smooth transitions, and realistic lighting in your digital art. Whether you’re painting a stunning landscape or crafting a mesmerizing portrait, understanding blending techniques can elevate your work from good to jaw-dropping.
The Power of Layer Modes
Let’s kick things off with one of the most fundamental digital blending techniques – using layer modes. Layer modes are like the spices in your art kitchen. They’re the ‘flavors’ you can add to your artwork to create various effects. Here are some common layer modes and how to use them:
Multiply Mode
Multiply mode is your go-to tool for shadows and depth. It darkens the colors beneath, making it ideal for adding shading, depth, and texture to your artwork. Imagine you’re painting a serene forest scene – using Multiply mode, you can easily create those subtle, dappled shadows under the trees.
Screen Mode
Screen mode is the polar opposite of Multiply. It lightens the colors beneath and is perfect for adding highlights or luminosity to your art. Want a character to glow with an otherworldly aura? Screen mode is your new best friend.
Overlay Mode
Overlay mode is like the all-purpose spice in your art kitchen. It enhances contrast, adds drama, and can make colors pop. It’s fantastic for adding texture and character to your art. Whether you’re working on a portrait or an abstract piece, Overlay mode can take it up a notch.
Brushwork – The Art of Control
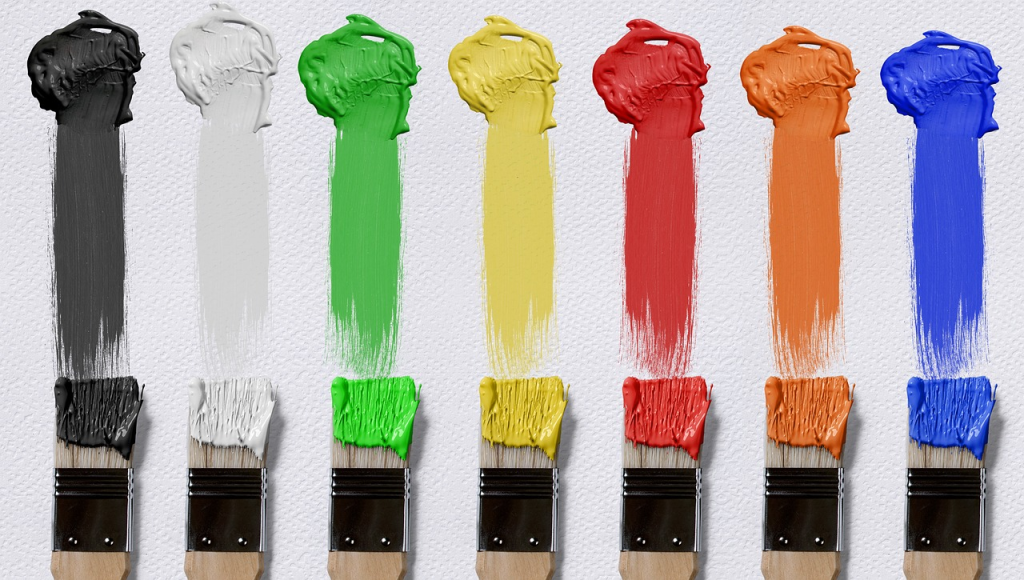
Now that you’ve got the layer modes under your belt, let’s talk about brushwork. The brush you use can significantly influence your blending technique. There’s no one-size-fits-all brush, but here are a few to keep in your digital toolbox:
Soft Round Brush
The soft round brush is like the classic paintbrush, and it’s perfect for achieving smooth and subtle blends. It’s your best friend when you want to create soft gradients and smooth transitions in your art.
Hard Round Brush
On the flip side, the hard round brush is your ticket to precision. It’s excellent for adding crisp, defined details or making bold strokes. Use it when you want to maintain strong contrast between colors and elements.
Texture Brushes
Texture brushes are the spice rack of the brush world. They add character, depth, and uniqueness to your artwork. Want to give a realistic, weathered look to a wooden surface? Texture brushes have got you covered.
The Art of Patience
Blending is an art, not a race. Patience is your trusty sidekick in this journey. Rome wasn’t built in a day, and neither is a masterpiece. Take your time to experiment, refine, and perfect your blending techniques.
Here’s a pro tip: Use a low opacity brush when blending. This allows you to build up color and texture gradually, resulting in a smoother and more natural look. The more patient you are, the better your art will turn out.
The Magic of Gradients
Gradients are the unsung heroes of blending. They are a surefire way to create stunning transitions between colors and elements in your artwork. Most digital art software comes with gradient tools that you can use to your advantage.
Smudge Tool – The Softener
Think of the smudge tool as the airbrush’s subtle cousin. It’s perfect for creating soft and dreamy blends in your art. Whether you’re working on a digital portrait or a fantasy landscape, the smudge tool can help you achieve that ethereal, almost magical look.
Custom Brushes – Your Personal Touch
Want to add a unique flair to your artwork? Create custom brushes! Whether it’s a brush that mimics a specific texture or one that adds intricate details, custom brushes are a fantastic way to put your personal stamp on your art.
Blend and Adjust
Blending isn’t just about mixing colors; it’s also about adjusting tones, hues, and saturation. Most digital art software allows you to fine-tune these aspects, so take advantage of them to get the perfect balance in your artwork.
Practice Makes Perfect
The road to mastering digital blending techniques is paved with practice. Don’t be discouraged if your first attempts don’t turn out the way you envisioned. Remember, even the great artists of the past had their fair share of ‘happy accidents.’ Keep experimenting, trying new things, and most importantly, enjoy the journey.
Conclusion
And there you have it, my fellow art enthusiasts! Blending techniques are the not-so-secret ingredient to elevating your digital art from ordinary to extraordinary. Whether you’re a beginner or a seasoned artist, these techniques can help you unleash your creativity and take your work to the next level. So, grab your stylus, put on your artist’s hat, and dive into the world of digital blending. Your canvas awaits, and the possibilities are endless. Happy creating!